“Wikimedia Commons Old Book Bindings” by Tom Murphy VII is licensed under the CC BY 2.0
November is National Novel Writing Month and folks will be working feverishly to write 50,000 words in thirty days. I would like to suggest some alternate forms of digital writing. A novel need not be a collection of text; images and other media can be used to tell a story. This article is the first in a two-part series introducing online tools and resources that allow you to create narratives beyond traditional forms.

Creative Commons Logo is licensed under the CC BY 2.0
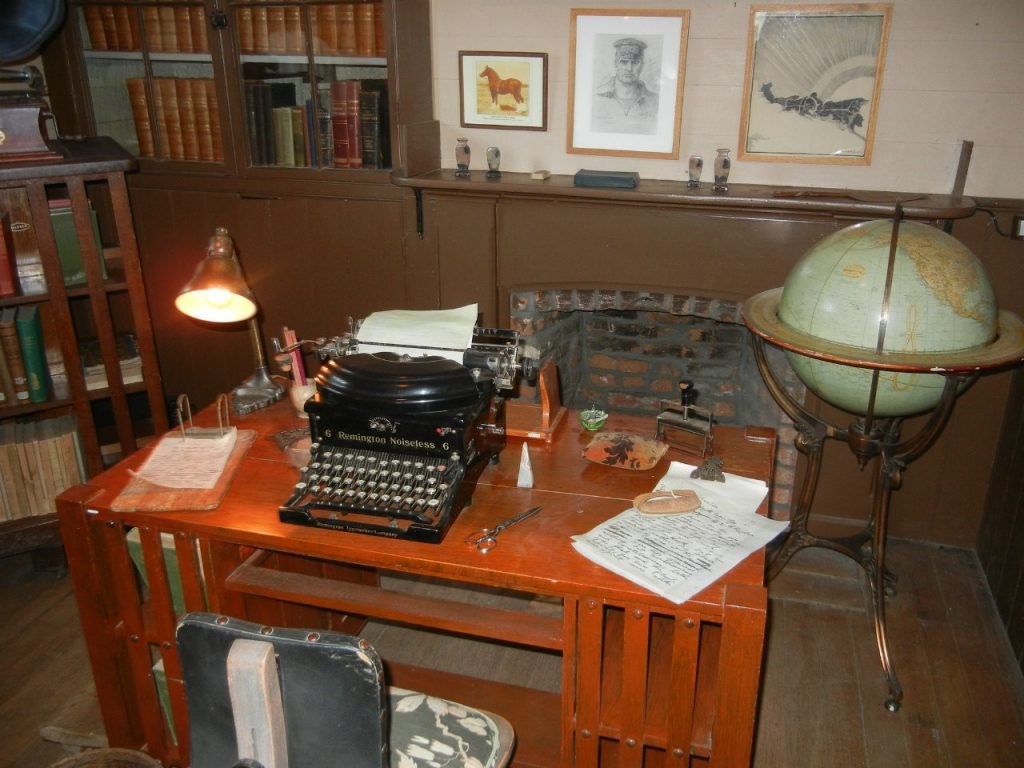
Depending on the project, a digital story is going to need media elements. Whether you are looking to add music to a podcast, or images for an online text, it is important to find material categorized as free use or by permission of the owner. Creative Commons is one of the best resources on how to find, and utilize online media. An important thing to keep in mind is the use of proper attribution. There are several ways to approach this, I prefer following the guidelines listed here Using hyperlinks cite the title, the author, and the license it falls under. Depending on the source of the image there may be helpful links. For example the following image comes off the Wikimedia Commons site:

“Wikimedia Commons Charmian London’s typewriter desk” by Marina Christensen is licensed under the CC BY-SA 3.0
Clicking on the“Wikimedia Commons Charmian London’s typewriter desk” hyperlink will take you take you to the entry page on Wikimedia. To create the citation I hyperlinked the Wikimedia page to: “Wikimedia Commons Charmian London’s typewriter desk”. Underneath the image in the Summary Section is a hyperlink to the author Marina Christensen, I copied that hyperlink and added it to the citation. Finally, I scrolled down to the Licensing Section and followed the link to the description of the license: Attribution-Share Alike 3.0 Unported license. The page provided the abbreviation CC BY-SA 3.0, which I added at the end of the citation.
When a piece of media is altered in any way it becomes a re-mix. The form most of us are familiar with is a song re-mix. Certain Creative Commons media may not be re-mixed. Frequently this is the case with music and video. A Non-Derivative or ND license indicates that the owner does not want their work altered in any way. Carefully read the license to make sure it can be re-mixed. Otherwise feel to use, edit, and re-mix media you find on Creative Commons. Just make sure you attribute the source. Now that you have the basics down, let’s check out a digital platform you can use this material on.
Choose your own Adventure
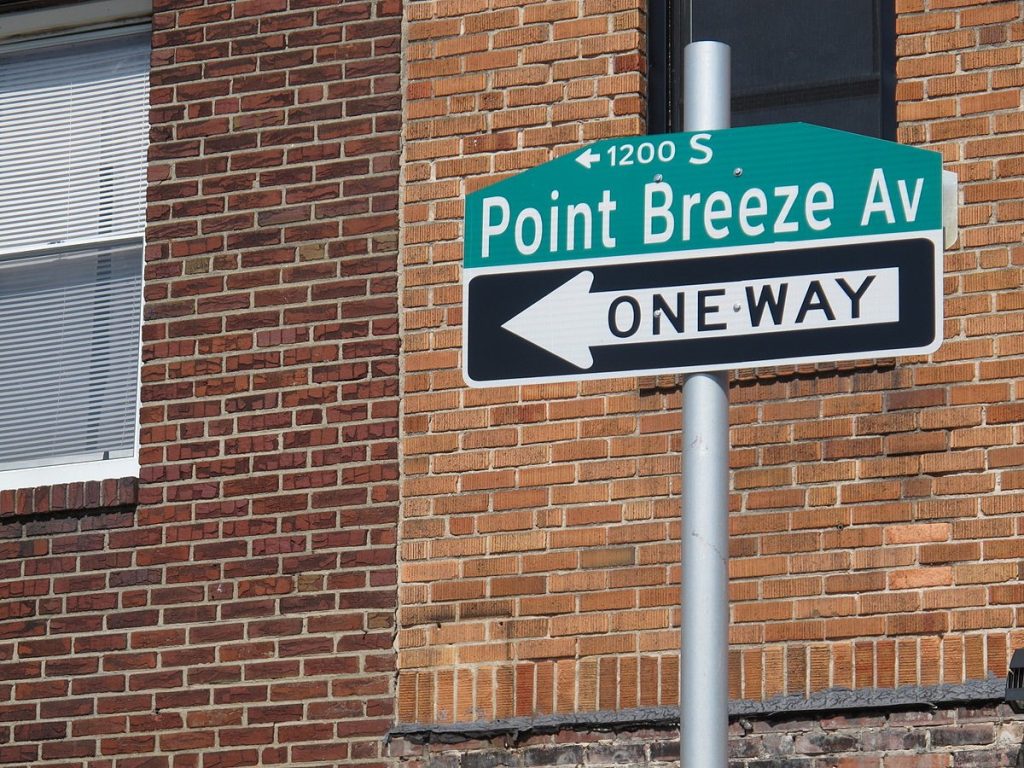
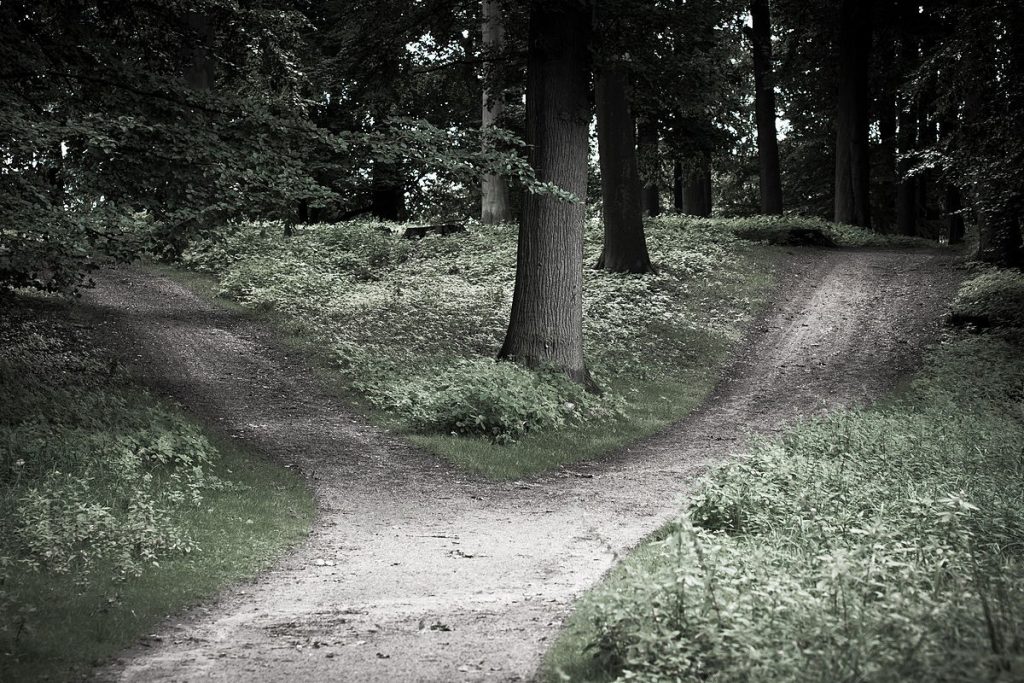
Most narratives move in one direction like this street. There is a beginning, middle, and end. What about a novel that branches out in multiple directions, a story where the reader chooses the direction? The one way street becomes a crossroads, with each path creating a unique experience.

“English: Point Breeze Avenue street sign at Point Breeze northern terminus at Federal Street and 20th Street” by Rgs25 is licensed under the CC BY-SA 3.0

“Flickr – Laenulfean – crossroads” by Carsten Tolkmit is licensed under the CC BY-SA 2.0.
There are several digital platforms for making choose-your-own-adventure stories; Twine is my favorite. It is an HTML based program that can either be downloaded or used online. Through text and pictures a series of pages are created where the reader decides how the story progresses. Each page has a title, text, and one or more links to another page. Here is a mockup of a typical Twine story:

“First Choose Your Own Adventure With Twinery” by Wesley Fryer licensed under the CC BY 2.0.
Twine Basics
At the center of the picture is the starting page or room. From there the story branches off to one or more rooms using [[brackets]] to link them together. The new rooms use the bracketed link as their name, so be careful in word selection.
A Twine story can be directly written online, or through a desktop version. I recommend the use of a script. Keep a copy of the text and code in a saved document or cloud. With just a slip of the mousepad it is easy to wipe out a whole section. Having the text and code in a word processer file makes it easier to check grammar and spelling.
Twine Advanced
Twine can support text and graphics. To inset an image into a Twine page using the following code:
<html><IMG SRC=”image URL”></html>
If the picture ends up being too large for the page, try to find a smaller version online. Or you could use this code instead. It gives the option to adjust the image size. Try to keep width and height to similar proportions. Multiple images can be added to each page.
<img src=”the URL of your image” width=”image width” height=”image height” alt=”the Name of your image”>
To insert an external hyperlink into Twine use the following code:
<a href=”the URL of the hyperlink”>the name of your link</a>
For tutorials and additional information on Twine check out their Wiki.
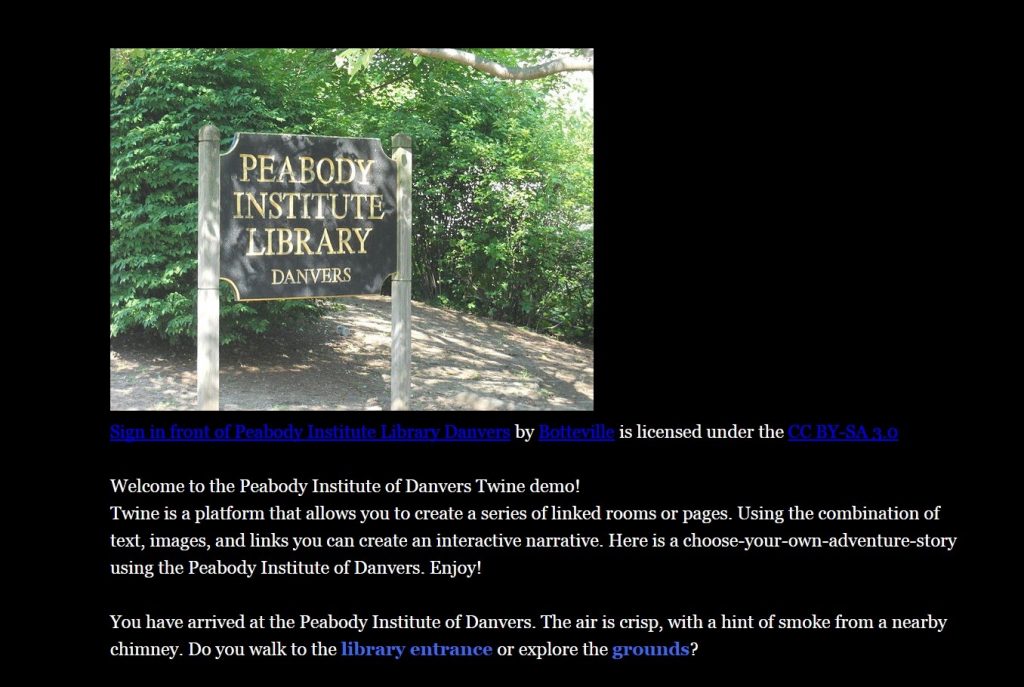
Peabody Institute of Danvers Twine Demo

Here is a sample story using the Peabody Institute of Danvers as the backdrop.